How to Compress Images Without Losing Quality
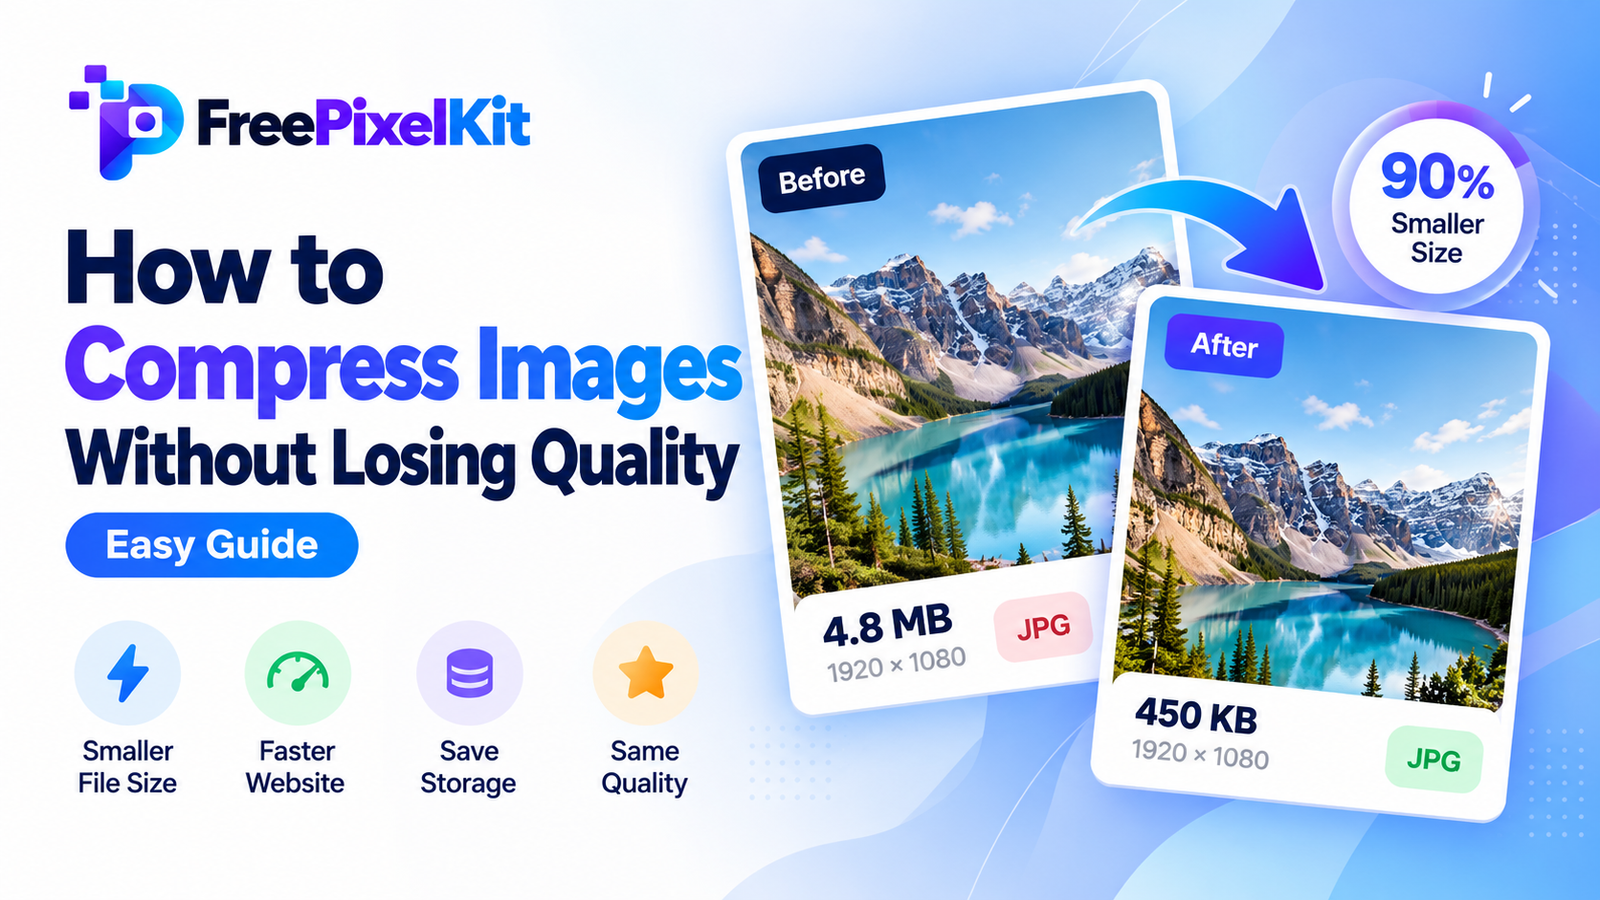
Images make websites, blogs, and social media posts more engaging. However, large image files can slow down websites, take up storage space, and make sharing difficult. The good news is that you can reduce image file size while keeping images looking sharp and clear.
Whether you are a blogger, website owner, student, or content creator, learning how to compress images without losing quality can help you manage images more efficiently.
In this guide, you will learn how image compression works, how to compress images online, which formats to choose, and how to avoid common mistakes.
Quick Answer: How Can You Compress Images Without Losing Quality?
To compress images without noticeable quality loss, use a reliable image compressor, choose an efficient image format such as WebP, and adjust the compression level carefully. Start with lossless compression when preserving every pixel matters. For web images, moderate lossy compression can often reduce file size significantly while keeping the image visually clear.
Always compare the compressed image with the original before using it.
What Does Image Compression Mean?
Image compression is the process of reducing an image’s file size so it requires less storage space and loads faster. It works by optimizing how image data is stored.
There are two main types of image compression.
Lossless Compression
Lossless compression reduces file size without removing image information. When you decompress the image, the original pixel data can be restored exactly.
It is useful for:
- Logos and icons
- Screenshots containing text
- Images that need repeated editing
- Graphics where every detail matters
However, lossless compression may not reduce file size as much as lossy compression.
Lossy Compression
Lossy compression reduces file size by removing some image information that is less noticeable to the human eye.
It is often useful for:
- Blog images
- Website banners
- Product photography
- Social media images
With carefully selected settings, lossy compression can produce images that look almost identical to the original while using much less storage.
Remember that lossy compression permanently removes some information. Repeatedly compressing the same image may introduce visible artifacts.
How to Compress Images Without Losing Quality Online
Using an online image compressor is one of the easiest ways to reduce image file size without installing software.
Follow these simple steps.
Step 1: Choose the Right Image
Start with the original image whenever possible. Avoid using an image that has already been compressed several times.
Check its dimensions and file format. A very large image may contain more pixels than you actually need.
For example, a 4000-pixel-wide photo may be unnecessarily large for a blog article that displays it at 800 pixels wide.
Step 2: Upload Your Image to an Online Compressor
Open a trusted image compression tool, such as FreePixelKit’s image compressor, when available.
Upload your JPG, PNG, or other supported image file. The tool will process the image according to its available compression options.
Before uploading sensitive images, review the tool’s privacy policy and file-handling practices.
Step 3: Select the Compression Settings
Choose a compression level based on your needs.
If your tool offers a quality slider, start with a high-quality setting and gradually lower it until the file size is acceptable without visible quality problems.
For graphics that require exact pixel preservation, choose lossless compression if supported.
There is no single ideal compression percentage for every image. A photograph, logo, and screenshot can respond very differently to the same settings.
Step 4: Download and Compare the Result
Download the compressed image and compare it with the original.
Look closely at:
- Fine details
- Text and sharp edges
- Skin tones
- Gradients
- Shadows and textures
Check the file size as well. If the image still looks clear and the file is smaller, the compression has worked well for your needs.
Which Image Format Is Best for Compression?
Choosing the right format can make a significant difference to image size and visual quality.
| Image format | Best use | Key advantage |
|---|---|---|
| JPG | Photographs | Good compression for photos |
| PNG | Logos, screenshots, transparent graphics | Lossless storage and transparency |
| WebP | Websites and general web images | Supports lossy and lossless compression |
| AVIF | Modern web images and photographs | Can offer very efficient compression |
| SVG | Icons, logos, vector graphics | Scales without pixelation |
For many websites, WebP is a practical choice because it supports transparency and both lossy and lossless compression.
AVIF can also produce small files at good visual quality, although compatibility and editing workflows should be considered.
The best format depends on the image itself, the required quality, and the devices or applications that need to display it.
Tips to Reduce Image File Size Without Visible Quality Loss
A few simple habits can help you create smaller image files while preserving a professional appearance.
- Resize images to their display dimensions: Avoid uploading unnecessarily large images. Match image dimensions to their actual use.
- Choose the right format: Use JPG or WebP for many photographs and PNG when lossless quality or transparency is important.
- Remove unnecessary metadata: Camera details and other metadata can increase file size. Remove it when you do not need it.
- Use moderate compression: Start with high visual quality and reduce it gradually.
- Keep an original copy: Save the original image before making destructive edits or applying lossy compression.
- Preview at actual size: Inspect the image at the size people will see it, rather than relying only on a zoomed-in preview.
For website owners, responsive images can provide additional benefits. Serving appropriately sized images to different screen sizes avoids downloading unnecessarily large files.
Common Image Compression Mistakes to Avoid
Even a good compression tool cannot fix every image-related problem. These common mistakes can reduce visual quality or waste storage.
Compressing images repeatedly: Repeated lossy compression can gradually introduce blur, blockiness, and other artifacts. Keep an original copy and compress from that version whenever possible.
Choosing the smallest file at any cost: The smallest file is not always the best result. Excessive compression can make photographs look unnatural and text difficult to read.
Ignoring image dimensions: Compression alone may not be enough when an image has far more pixels than necessary. Resize it before compressing if appropriate.
Using the wrong format: Saving a detailed photograph as an unnecessarily large PNG can waste space. Similarly, converting a transparent logo to JPG removes transparency.
Not checking the final image: Always preview the compressed result. A smaller file is useful only if it still meets your quality requirements.
Why Image Compression Matters for Website Performance
Large images can increase the amount of data a webpage needs to load. This may be especially noticeable for visitors using slower internet connections or mobile devices.
Optimized images can help reduce page weight, improve loading performance, and use bandwidth more efficiently.
Image optimization is also relevant to Core Web Vitals. Large images used as the main visible content can affect Largest Contentful Paint (LCP), while appropriately sized and delivered images can help improve loading efficiency.
However, image compression alone does not guarantee better rankings or fast loading. Hosting quality, caching, JavaScript, fonts, and other performance factors also matter.
For bloggers and website owners, a consistent image optimization workflow is a simple way to improve the overall user experience.
Final Thoughts
Compressing images without noticeable quality loss is about finding the right balance between file size and visual clarity. Start with the original image, choose an appropriate format, use sensible compression settings, and compare the result before publishing.
For blogs and websites, image compression is a practical part of a wider optimization process. When combined with correct dimensions and efficient image delivery, it can help create faster, more accessible, and more enjoyable online experiences.

Frequently Asked Questions
Find quick answers to common questions about this topic.
Can I compress an image without losing quality?+
Yes. Lossless compression can reduce file size without changing the original pixel information. Moderate lossy compression can also make an image look nearly identical to the original, although some image information is removed.
What is the best image format for compression?+
WebP is a strong option for many website images because it supports both lossy and lossless compression. JPG is also useful for photographs, while PNG is suitable for graphics that need lossless quality or transparency.
Does compressing an image reduce its resolution?+
Not necessarily. Compression and resizing are different processes. Compression changes how image data is stored, while resizing changes the image’s pixel dimensions. Some tools combine both operations, so check the settings before processing.
How much should I compress images for a website?+
There is no fixed file size or compression percentage that works for every website image. Choose settings that provide a useful reduction while preserving the image’s appearance. Always consider the image’s dimensions, format, and intended display size.
Is online image compression safe?+
It depends on the service. Check its privacy policy, upload and deletion practices, and whether files are processed locally in your browser or uploaded to a server. Avoid uploading confidential or sensitive images to services you do not trust.
Popular Image Tools
Explore free tools that make image editing simple and fast.
More from the Blog
Discover more guides, tips and creative ideas.