How to Resize an Image Online for Free
Images are used everywhere, from websites and blog posts to social media and online stores. However, an image that looks perfect on your computer may be too large, too small, or incorrectly shaped for its intended use.
Resizing an image helps you adjust its width and height to fit different platforms and screen sizes. You do not need expensive software or advanced editing skills to do it. With a free online image resizer, you can change image dimensions in just a few steps.
In this guide, you will learn how to resize an image online for free, maintain its proportions, preserve image quality, and choose the right dimensions for different uses.
How Do You Resize an Image Online?
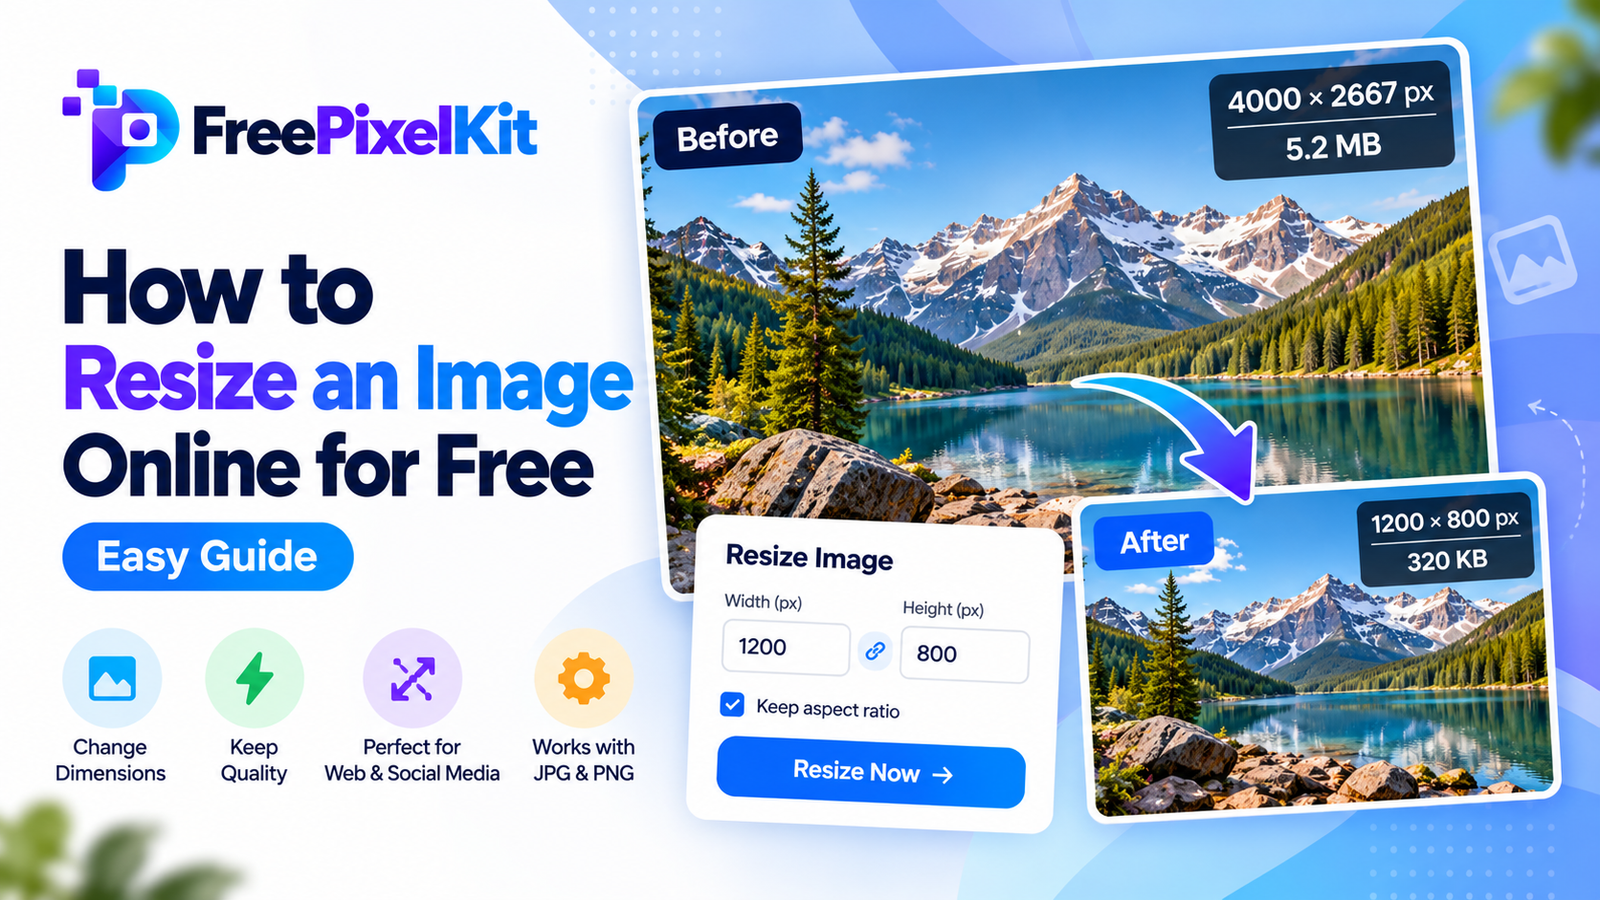
To resize an image online for free, open an image resizer, upload your JPG or PNG file, enter your desired width and height, and enable the aspect ratio lock to prevent distortion. Apply the changes, preview the resized image, and download the result.
For the best quality, avoid enlarging small images too much and choose dimensions that match the platform where you plan to use the image.
What Does Resizing an Image Mean?
Image resizing is the process of changing an image’s pixel dimensions, such as its width and height.
For example, if an image is 3000 × 2000 pixels, you can resize it to 1500 × 1000 pixels. The resized image has fewer pixels but keeps the same proportions.
Image resizing is useful for website images, profile pictures, product photos, thumbnails, and digital documents.
Image Dimensions vs. File Size
Image dimensions and file size are two different things.
- Image dimensions: The width and height of an image, measured in pixels.
- File size: The amount of storage space an image occupies, usually measured in KB or MB.
Resizing an image can reduce its file size because fewer pixels may need to be stored. However, the final file size also depends on the image format, compression settings, and image content.
If your goal is to reduce file size without changing dimensions, use an image compression tool instead.
What Is an Aspect Ratio?
An aspect ratio describes the relationship between an image’s width and height.
For example, a 1920 × 1080 image has a 16:9 aspect ratio. A 1080 × 1080 image has a 1:1 aspect ratio.
Keeping the original aspect ratio prevents an image from looking stretched or squeezed when you change its dimensions.
If you need a different shape, cropping may be a better option than simply changing the width and height.
How to Resize an Image Online for Free
Using an online image resizer is a simple way to change image dimensions without installing additional software.
Follow these steps to resize your image.
Step 1: Open an Online Image Resizer
Choose a reliable online image resizing tool, such as the FreePixelKit image resizer, if available.
Look for a tool that supports your image format and lets you enter custom dimensions. A clear preview and aspect ratio controls are also useful.
Step 2: Upload Your Image
Select the image you want to resize from your device.
Most common image resizers support formats such as JPG and PNG. Some also support WebP and other formats.
Before uploading private or sensitive images, check the tool’s privacy and file-handling policies.
Step 3: Enter the New Image Dimensions
After uploading, enter your preferred width and height in pixels.
For example, you may want to resize a 2400 × 1600 image to 1200 × 800 pixels for a blog post.
Choose dimensions based on the actual space where the image will appear. Avoid using unnecessarily large dimensions, especially for mobile-friendly websites.
Step 4: Keep the Aspect Ratio
Enable the aspect ratio lock if your tool provides one.
This setting automatically adjusts the other dimension when you change the width or height. It helps preserve the original proportions and prevents unwanted distortion.
If you need a square profile picture from a landscape photo, use a crop tool or a square canvas rather than forcing the original image into square dimensions.
Step 5: Download the Resized Image
Preview your resized image before downloading it.
Check whether important details remain clear and whether the image fits your intended use. Once you are satisfied, select the download option and save the new image to your device.
Your image is now ready to use on a website, social media platform, or in a digital document.
How to Resize an Image Without Losing Quality
Resizing changes the number of pixels in an image, so some quality changes may occur. You can reduce the risk of visible quality loss by following a few practical guidelines.
- Start with a high-resolution original: A larger source image gives you more flexibility when creating smaller versions.
- Avoid excessive enlargement: Increasing the dimensions of a small image does not restore missing details. It may make the result appear blurry.
- Maintain the aspect ratio: Preserve the image’s original proportions unless you intentionally crop or change its composition.
- Choose suitable dimensions: Match the image to its intended display size rather than using unnecessarily large dimensions.
- Use a suitable file format: JPG is often practical for photographs, while PNG works well for transparent graphics and sharp-edged designs.
- Preview before downloading: Inspect the result at its intended display size to check for blur, pixelation, or unwanted cropping.
If you need to reduce the file size further, compress the resized image using appropriate quality settings.
Best Image Dimensions for Websites and Social Media
Different platforms and placements use different image dimensions. The following are common starting points, but always check the latest specifications for your particular platform.
| Image use | Common dimensions |
|---|---|
| Full HD landscape image | 1920 × 1080 px |
| Blog featured image | 1200 × 630 px |
| Square social media post | 1080 × 1080 px |
| Vertical social media post | 1080 × 1350 px |
| Story or vertical video cover | 1080 × 1920 px |
| YouTube thumbnail | 1280 × 720 px |
| Square profile picture | 400 × 400 px |
These dimensions are examples, not universal requirements. Some platforms automatically crop images or display them differently across devices.
For websites, consider responsive image delivery so visitors receive images appropriate for their screen sizes.
Common Image Resizing Mistakes to Avoid
Even a simple resizing task can produce poor results if you overlook a few details.
Ignoring the aspect ratio: Entering unrelated width and height values can stretch faces, objects, and text. Keep the proportions locked unless you intend to crop or reshape the image.
Making small images too large: Enlarging a low-resolution image can make it look soft or pixelated. Use a higher-resolution original whenever possible.
Choosing incorrect dimensions: An image that is too large may increase page weight, while an image that is too small may appear blurry in its display area.
Confusing resizing with compression: Resizing changes pixel dimensions, while compression reduces the amount of data used to store an image. They solve different problems.
Forgetting to preview the result: Always check the final image before publishing, especially when it contains text, logos, or important visual details.
Why Image Resizing Matters for Website Performance
Oversized images can increase the amount of data a browser needs to download. This can make pages slower, particularly on mobile connections.
Using appropriately sized images can reduce unnecessary downloads and help improve loading efficiency.
Image dimensions can also influence Core Web Vitals. For example, properly sizing a large image that appears near the top of a webpage may help improve Largest Contentful Paint (LCP), although overall performance depends on many other factors.
For better website performance:
- Resize images to suit their display dimensions.
- Use modern formats such as WebP or AVIF when appropriate.
- Compress images without introducing noticeable visual defects.
- Provide responsive image versions for different screen sizes.
- Avoid loading unnecessarily large images on mobile devices.
Image resizing is one part of a complete image optimization process, alongside compression, format selection, and efficient delivery.
Final Thoughts
Resizing an image online for free is a simple way to prepare pictures for websites, social media, and digital documents. By choosing suitable dimensions, maintaining the aspect ratio, and checking the final result, you can create images that fit their intended use without unnecessary quality problems.
For the best results, start with a high-quality original and use a reliable image resizer. When needed, combine resizing with image compression to create files that are both visually clear and efficient to load.

Frequently Asked Questions
Find quick answers to common questions about this topic.
How can I resize an image online for free?+
Open a free online image resizer, upload your image, enter the desired dimensions, maintain the aspect ratio, and download the resized result.
Can I resize an image without losing quality?+
You can often resize an image with little visible quality loss, especially when reducing its dimensions. However, resizing changes pixel information, and enlarging a small image may introduce blur or pixelation.
Does resizing an image reduce its file size?+
Resizing often reduces file size because fewer pixels need to be stored. However, the final file size also depends on the image format and compression settings.
What is the best image size for a website?+
The ideal dimensions depend on where the image appears. A blog image might use 1200 × 630 pixels, while a full-width banner may need different dimensions based on the website’s layout and responsive design.
Can I resize JPG and PNG images online?+
Yes. Many online image resizers support both JPG and PNG files. Some tools also support WebP and other image formats.
What is the difference between resizing and cropping?+
Resizing changes an image’s dimensions, while cropping removes selected areas from an image. Resizing can preserve the full image, whereas cropping changes its visible composition.
Popular Image Tools
Explore free tools that make image editing simple and fast.
More from the Blog
Discover more guides, tips and creative ideas.