How to Remove Background from an Image for Free
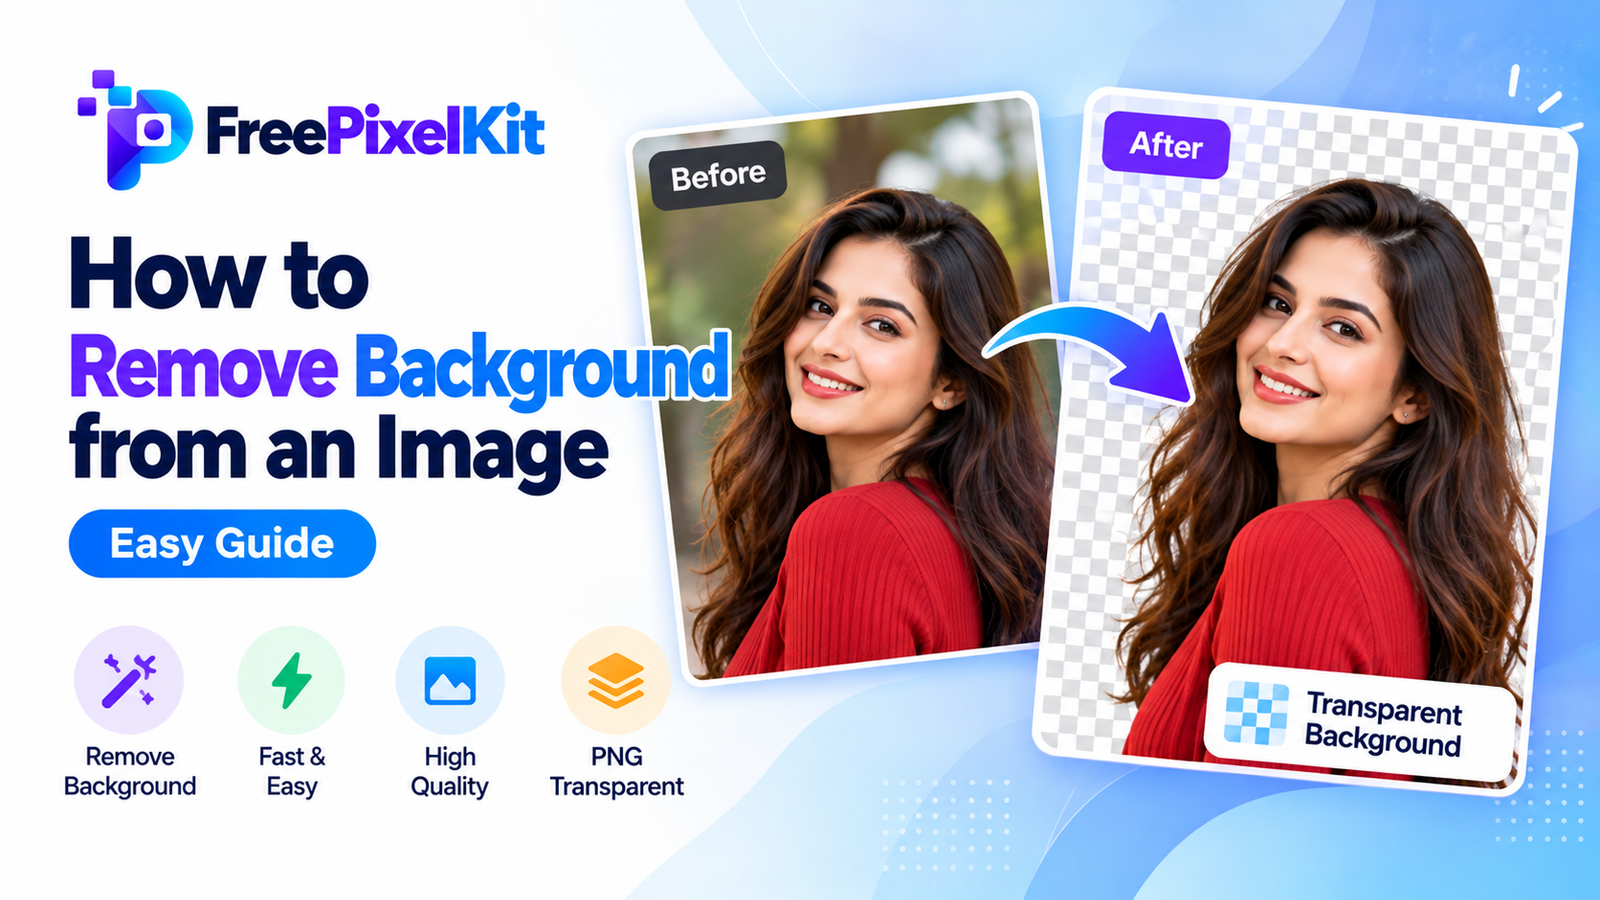
Have you ever taken a great photo but disliked the background? Maybe you want a clean product image, a professional profile picture, or a transparent logo for your website. Removing an unwanted background can make an image look cleaner and more useful.
You do not need advanced photo editing skills or expensive software to do this. A free online background remover can automatically separate the main subject from its background in just a few steps.
In this guide, you will learn how to remove a background from an image online, create transparent PNG files, improve the final result, and choose the right image format for different uses.
How Do You Remove a Background from an Image?
To remove a background from an image, open an online background remover, upload your photo, and let the tool detect the main subject. Preview the result, refine any rough edges if editing options are available, and download the image as a transparent PNG.
For the cleanest results, use a sharp image with good lighting and a clear difference between the subject and the background.
What Is Image Background Removal?
Image background removal is the process of separating the main subject of a photo from its surrounding background.
For example, you can remove the background from a product photograph to display the product on a plain white background or make the background transparent for use in a graphic design.
Background removal is commonly used in e-commerce, marketing, social media, presentations, and personal photo editing.
How Automatic Background Removal Works
Many modern background removal tools use image recognition and segmentation technology to identify the main subject.
The tool analyzes visual information such as shapes, colors, edges, and object boundaries. It then creates a mask that separates the foreground from the background.
The accuracy depends on the image and the tool. Clear product photos with simple backgrounds are often easier to process than images with complex scenes, fine hair, transparent objects, or overlapping subjects.
Some tools also offer manual editing features to restore missing areas or erase unwanted background details.
Transparent Background vs. White Background
A transparent background means that the image has no solid background in the transparent areas. These areas can reveal whatever color or content sits behind the image.
A white background, on the other hand, replaces the original background with a solid white area.
Choose transparency when you want to place an image over different backgrounds, such as a website banner, presentation, or promotional design.
Choose a white background when you need a consistent appearance for product listings, catalogs, or documents.
How to Remove Background from an Image Online for Free
Using an online background remover is one of the simplest ways to separate a subject from its background without installing editing software.
Follow these steps.
Step 1: Choose an Online Background Remover
Open a reliable online background removal tool, such as FreePixelKit’s background remover when available.
Look for features such as automatic background detection, transparent PNG downloads, image previews, and optional edge refinement.
Before uploading personal or sensitive photos, review the service’s privacy and file-handling policies.
Step 2: Upload Your Image
Select the image you want to edit from your device.
For better results, choose a clear photo where the subject is easy to distinguish from the background.
Most background removal tools support common formats such as JPG and PNG. Check the supported file types and image size limits before uploading.
Step 3: Remove the Background
Start the background removal process using the tool’s available controls.
The tool will analyze your image and attempt to separate the subject from its surroundings.
Processing time depends on image dimensions, the tool’s technology, and your internet connection.
Step 4: Preview and Refine the Result
After processing, inspect the image carefully.
Pay special attention to:
- Hair and fine edges
- Hands and fingers
- Product corners
- Transparent or reflective objects
- Areas where the subject and background have similar colors
If the tool provides manual editing controls, use them to restore missing details or remove leftover background areas.
Step 5: Download the Transparent Image
Once the result looks clean, download the image in a format that supports transparency, such as PNG.
Open the downloaded image in an editor or preview application that displays transparency correctly. A checkerboard pattern usually indicates transparent areas.
Your image is now ready to use in designs, product listings, social media posts, or other projects.
How to Get Clean Background Removal Results
Automatic tools can save time, but the quality of the original image still matters.
Use these practical tips to improve the result.
- Choose a high-quality photo: Clear images provide more useful detail for detecting subject boundaries.
- Use good lighting: Even lighting can make the subject easier to distinguish from the background.
- Avoid busy backgrounds: Complex patterns and overlapping objects can make automatic selection less accurate.
- Check fine details: Hair, fur, and small accessories may need additional editing.
- Use a suitable background color: A contrasting background during editing can help reveal leftover edges.
- Keep the original image: Save a copy before making edits so you can start again if needed.
For product photography, consistent lighting and a simple background can make the entire editing process easier.
Best Image Formats for Transparent Backgrounds
Not every image format supports transparency. Choosing the right format helps preserve the background removal result.
| Image format | Transparency support | Best use |
|---|---|---|
| PNG | Yes | Logos, product images, graphics |
| WebP | Yes | Optimized web graphics and images |
| AVIF | Yes | Modern web images where supported |
| JPG | No | Photographs with solid backgrounds |
| SVG | Yes | Suitable vector graphics and icons |
PNG is a widely compatible option for transparent images. WebP and AVIF can also support transparency and may provide smaller files in suitable workflows.
JPG does not support transparent areas. If you save a transparent image as JPG, the transparent portions are replaced by a solid background.
Choose the format based on your intended use, compatibility needs, and file size requirements.
Common Background Removal Problems and Solutions
Hair looks rough or incomplete: Fine hair can be difficult to separate from the background. Try a higher-resolution source image and use edge refinement tools if available.
Parts of the subject disappear: Similar colors between the subject and background can confuse automatic selection. Use manual restoration controls or choose a clearer original photo.
A white outline appears around the subject: This can happen when the original background color remains along the edges. Refine the mask or use edge cleanup options.
The image does not appear transparent: Some image viewers display transparent areas as white. Open the PNG in an editor with a checkerboard transparency preview to confirm the result.
The downloaded image has a solid background: Check whether you downloaded a JPG or selected a background replacement option. Choose a transparent PNG export when available.
Where Can You Use Images with Transparent Backgrounds?
Transparent images are useful across many types of digital content.
- E-commerce: Display products on consistent backgrounds or place them in promotional layouts.
- Websites: Add logos, icons, and decorative graphics without unwanted rectangular backgrounds.
- Social media: Create engaging posts, thumbnails, and profile graphics.
- Presentations: Place cutout images over slides without covering the background design.
- Marketing materials: Combine people, products, and objects with custom layouts.
- Personal projects: Create stickers, collages, invitations, and creative designs.
A transparent image gives you greater flexibility because the subject can be placed over different colors, patterns, and photographs.
Final Thoughts
Removing a background from an image is easier than ever with online editing tools. Whether you are preparing product photos, creating social media graphics, or designing a website, a background remover can help you produce clean and flexible images.
For the best results, start with a clear photo, inspect the edges carefully, and download the final image in a format that supports transparency. A few simple checks can make a significant difference in the quality of your finished image.

Frequently Asked Questions
Find quick answers to common questions about this topic.
How can I remove a background from an image for free?+
Use a free online background remover. Upload your image, process it, check the edges, and download the result in a transparent format such as PNG. Free features and download limits vary by service.
Can I remove an image background without Photoshop?+
Yes. Many online background removal tools work directly in a web browser. They can automatically detect the subject and remove the background without requiring professional editing software.
How do I make an image background transparent?+
Remove the existing background with an image editing or background removal tool. Then export the result in a format that supports transparency, such as PNG or WebP.
Which image format is best for a transparent background?+
PNG is a reliable choice for transparent images because it supports transparency and has broad compatibility. WebP and AVIF are alternatives for suitable web workflows.
Can I remove the background from a photo on my phone?+
Yes. Many browser-based background removers work on mobile devices. Open the tool in your phone’s browser, upload a photo, remove the background, and download the result.
Why does background removal sometimes look inaccurate?+
Image quality, lighting, similar foreground and background colors, fine hair, and overlapping objects can affect the accuracy of automatic background removal. Clear photos and manual refinement can improve the result.
Popular Image Tools
Explore free tools that make image editing simple and fast.
More from the Blog
Discover more guides, tips and creative ideas.